
As a form of new vision and mission, dr.emi has made dremi.info a website that provides web development and design tutorials, and not only contains photoshop design tutorials. Again, dr.emi tried to dig up the inspiration that had almost faded for a long time.
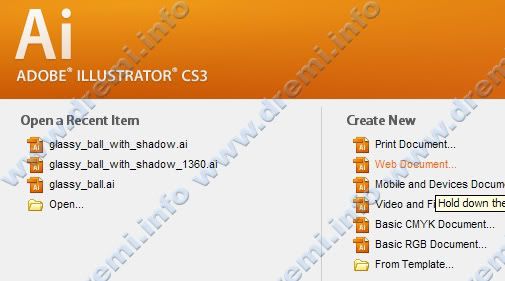
Before starting, it’s a good idea to discuss a little explanation about Adobe Illustrator. Illustrator is a vector-based graphic processor that is commonly used by designers who want more detailed and realistic looking results. It is also widely used in printing. Even world-class icons use this tool to get good results, like crystalxp.net
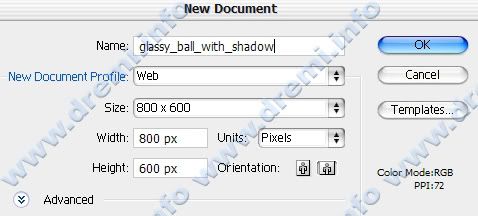
Woke open your Adobe Illustrator, and create a new standard sized document, unless you want to make a wallpaper, just set it and set your desktop size. Can be widescreen or regular 🙂
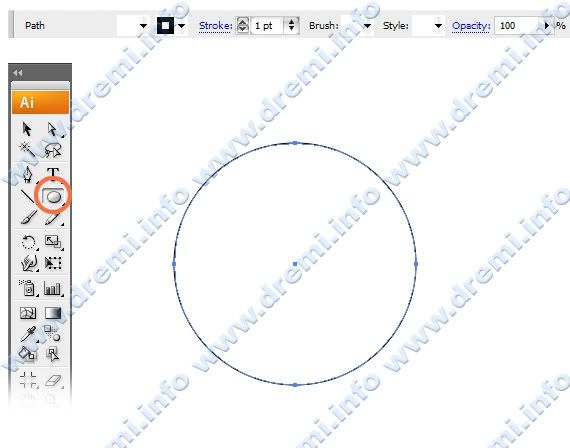
Take the Ellipse Tool (L) and make a circular shape in the middle of the canvas.
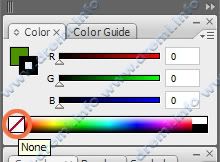
After that, give me the color and the circle, make it dark green, dark blue, or whatever. The most important is dark orange: D
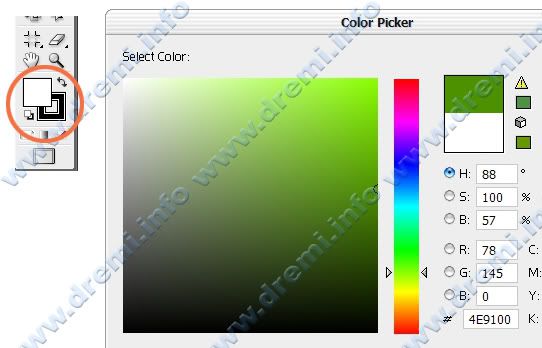
And don’t forget to remove the stroke, by clicking on the None icon in the Color Palette
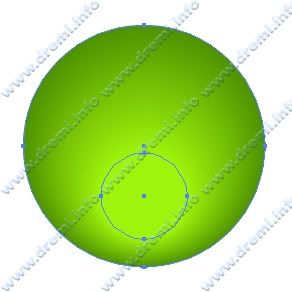
Now Copy the circle path earlier, press [CTRL + C] on your keyboard, the tros must be make [CTRL + F], which means that the paste results are in front of the previous path object (in Lombok, Paste in Front) hehehe: D
After that, click and make the Selection Tool (V), smaller than before
Place it at the bottom of the previous circle path, then change the color to make it lighter …

Wow, so you already have yours: D
So, now take the Blend Tool na
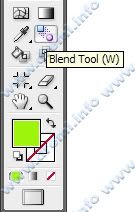
With the Blend Tool, click on the top edge of the small circle path, then followed by clicking on the top edge of the large circle path. So that’s in order bro ………. The goal is to make objects that are interlocked in color ….
This Blend technique can also be applied by clicking on both path objects (large circles) and then pressing the combination on your keyboard [Ctrl + Alt + B] through this menu: Object> Blend> Make
Later it will be like this:
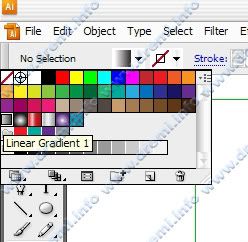
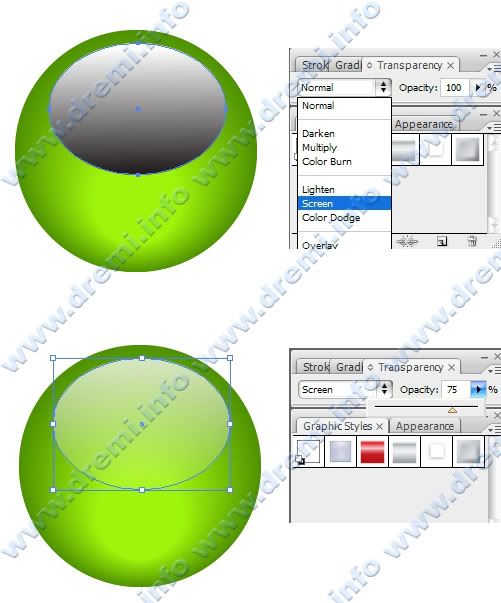
As per the title make shadow, now let’s make a glassy shadow na, make ellipse tool too, but this time the color of the path is graded with white gray.
First, activate the Gradient Tool na, then create an ellipse tool na. Don’t forget to pay attention to the direction of the gradasina, from bottom to top.
After that, go to Window> Transparency and change the blend mode to Screen, with an opacity of 75% or less.
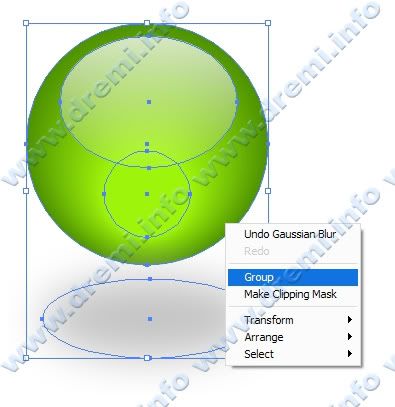
Finally, make a shadow for the shadow, use the Ellipse Tool too, and use a light gray color, then add Effect> Blur> Gaussian Blur. Use blur na around 20px.

Until here, you can group all paths into one. Now here’s the final result: D
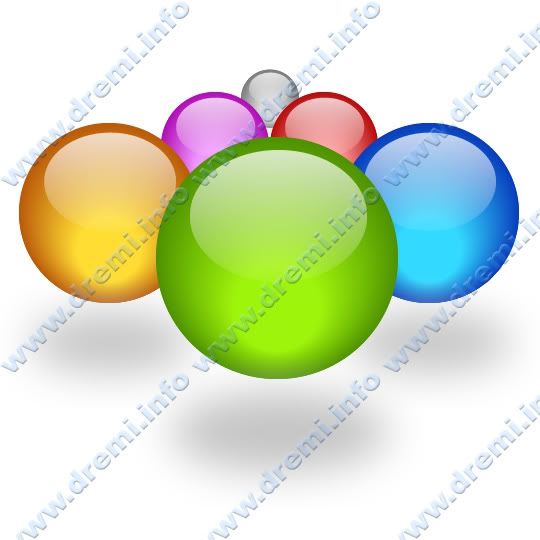
You can duplicate the group using [CTRL + C] and [CTRL + V], and adjust the position of the object to make it easier to see.

If you want to change the gradation, just double click (double click is done 2X, until the big ball path appears). Later, a new canvas will appear with gradasina edits.
Well, disono, you can edit in the na color palette

You can make something like this, or be creative with a different ball position …
Woke !!! happy creation …
hi!
guwe newbie nih, pengen belajar banyak vector…. om..
oia om, bikin vector yg laen juga dooonk, biar banyak niiii tutorial vectornya…..
Mantabs !
sip euy! hehehehe, nuhun!
thank tutornya…. dahsyatttt
woke, thanks!
wuiiihh….
cantiknya balonnya.
jadi pengen buat juga nech.
cobain aah….
🙂
wuiiihh….
cantiknya balonnya.
jadi pengen buat juga nech.
cobain aah….
🙂
keren batur….
keren batur….
@L.Hirkan
mbe lekan batur sasak niki ?? hehehe …
@L.Hirkan
mbe lekan batur sasak niki ?? hehehe …
weh…mantaps dok…
weh…mantaps dok…
flash nya mana???ko gak ada?
@ioro
ada di forum
flash nya mana???ko gak ada?
@ioro
ada di forum
hai mas emi, thanks dah mampir n ngisi guestbook ilmugrafis, kabar baik2 aja mas… wah webnya sampean makin keren aja nih, mantab gan…
hai mas emi, thanks dah mampir n ngisi guestbook ilmugrafis, kabar baik2 aja mas… wah webnya sampean makin keren aja nih, mantab gan…
Pak tutorial AI nya di update lagi dunk diperbanyak. Thanks
Pak tutorial AI nya di update lagi dunk diperbanyak. Thanks
mantap tutorialnya, lengkap dari design ampe coding.
Wish u the best lah.
Semangat bro …
mantap tutorialnya, lengkap dari design ampe coding.
Wish u the best lah.
Semangat bro …
WAH MASTER DESIGN FORM BANDUNG !!!!
HEBATTTTTTT BRO ( JADI PENGEN BISA NEH )
TULARIN DONG ILMUNYA !
WAH MASTER DESIGN FORM BANDUNG !!!!
HEBATTTTTTT BRO ( JADI PENGEN BISA NEH )
TULARIN DONG ILMUNYA !